
Introduction #
Recently, I was thinking about setting up an MQTT Broker. Since the Raspberry Pi I currently have on hand is being used as a NAS, I decided to build the MQTT Broker using a Raspberry Pi Zero W that I bought last year.
I originally bought this Raspberry Pi Zero from Akizuki Denshi last year just to meet the free shipping requirement, so I’ve finally found a use for it…
Setup #
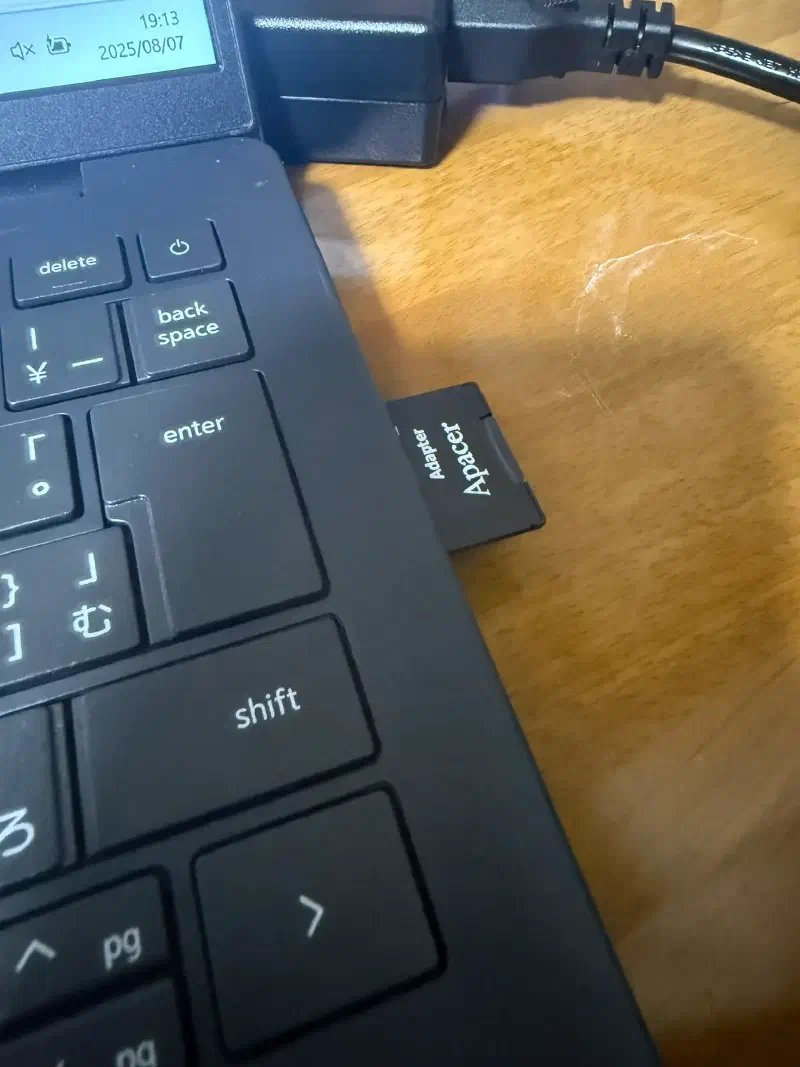
The desktop PC I use for development doesn’t have an SD card slot, so I usually use an SD-to-USB adapter, but I’ve misplaced it again. However, since the laptop I recently bought has an SD card slot, I used that to write the OS to the SD card.
The Raspberry Pi Zero is certainly cheap (compared to a regular Raspberry Pi), but the trade-off is low performance. With only 512 MB of memory and a single-core 1GHz CPU, the specs are quite low. Because of this, I installed Raspberry Pi OS Lite, which doesn’t have a desktop environment.
Connecting HDMI and LAN cables is a hassle in the first place, so I think remote control via SSH is definitely the best approach.
By the way, the MQTT software I used this time is Mosquitto.
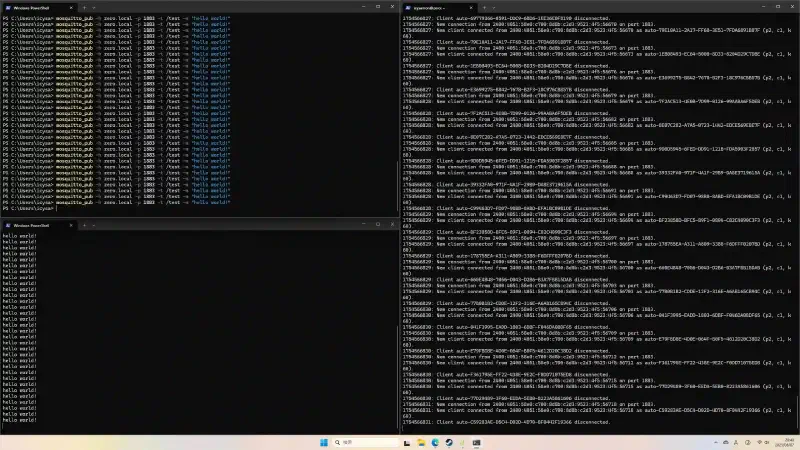
My bachelor’s thesis involved research using MQTT, so this shouldn’t have been too difficult for me. But since quite a bit of time has passed since then, I had forgotten some of the finer details (lol). Well, thanks to ChatGPT, I was able to get it working properly in the end.
Notes #
Here are the commands I used frequently this time.
ps auxDisplays a list of running tasks.ufw statusChecks the firewall status.ufw allow 1883/tcpAllows TCP port 1883.ip addr showDisplays the IP addresses of network interfaces.sudo netstat -tulnpDisplays current network connections and listening ports.sudo netstat -tulnp | grep 1883Searches for the process using port 1883.kill < PID >Terminates the process with the specified PID.